

How To Replace A Honda Accord Rear Engine Mount
If you suspect your engine mounts are going bad, the first order of businss is to investigate the symptom and diagnose the problem.
There are a number of symptoms of a bad engine mount. The most common ones include noticeable wear of the engine mounts or one of the following signs:
- You feel more vibration coming from under the hood of the car
- The engine feels like it lurches or kicks when you start the car or begin accelerating quickly
- Occasional noises, especially when going over bumps or shifting gears. The sound is like something is banging under the hood when the car is in motion.
For more tips, click on this link for troubleshooting a failed engine mount.
Tools Needed To Replace A Rear Engine Mount
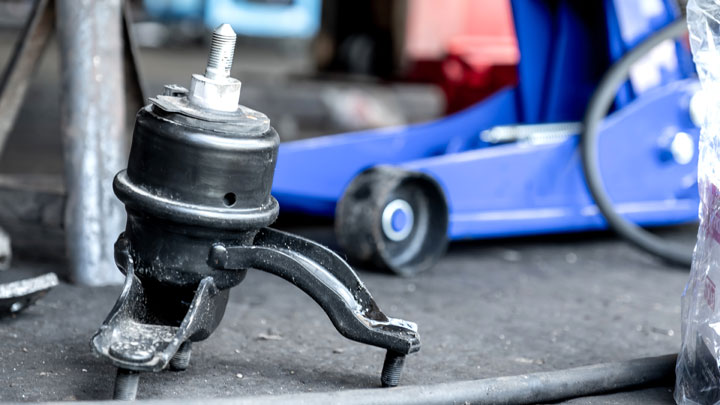
In addition to the replacement rear engine mount, you'll need the following tools:
- Jack
- Jack stands
- Wheel chocks
- WD-40 or other penetrating oil
- Metric socket set with a ratchet wrench
- Prybar
- Vice grips
How To Replace The Rear Engine Mount
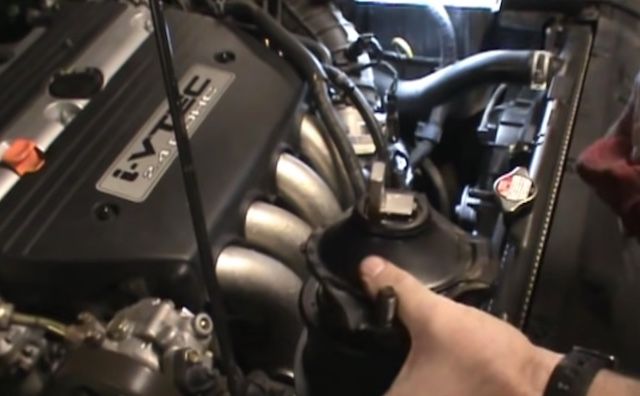
Image Credit: BigDog50001
These steps cover how to replace the rear engine mount but are also applicable for most engine mounts on Honda vehicles.
- Park the car on a level surface, preferably a driveway or off-street location. Then set the parking brake.
- Place chock blocks behind the car's rear wheels.
- Open the hood and locate the engine mounts. The rear engine mount will be located under the engine near the back of the engine compartment. In most cases, the easiest way to access it is from underneath the car.
- Raise the car with the jack and place the jack stands under each side of the car. Make sure the jack stands are flat on the ground and securely supporting the car. Check your owner's manual for the best place to secure jack stands on your vehicle.
- Once the car is secured by the jack stands, use the jack to support the engine, taking the load off the engine mount. You'll want to place the jack under a solid part of the engine and not something like the oil pan.
- Spray the bolts on the engine mount with penetrating oil. For best results, thoroughly soak the bolts and let the oil penetrate any rust or corrosion for about 30 minutes.
- Use the ratchet wrench to remove the bolts from the engine mount. If the bolts won't come out once the nuts are removed, use the vice grips and a pry bar to help extract them.
- If the engine mount won't come out after removing the bolts, use the pry bar and penetrating oil to loosen and remove it.
- Install the new engine mount and tighten it with the ratchet wrench. Make sure the engine mount is seated squarely and all of the bolts are tightened evenly.
DIY Car Maintenance And Repair
Replacing an engine mount is one of the many car maintenance items or repair jobs you can do yourself, saving both time and money. Plus you'll get a sense of satisfaction by working on your own car. All you need are the right tools and access to the internet! And Suburban Auto Parts is here to help if you've got questions or need to find parts.