

How To Replace Shocks In A Cadillac Escalade
The idea of replacing shocks intimidates a lot of car owners. It’s actually a straightforward job you can do with basic tools. If you own a Cadillac Escalade, we have good news. It’s pretty easy to replace the rear shocks on an Escalade! We’ll show you how.
Not Sure If Your Shocks Have Gone Bad Yet?
You can check your shocks at home. You don’t even need any special tools to do that. All you need to do is perform the bounce test, which is outlined here.
If you’ve determined that your shocks are bad, the first thing you need to do is buy replacement shocks.
Where To Find OEM Replacement Shocks At Wholesale Pricing
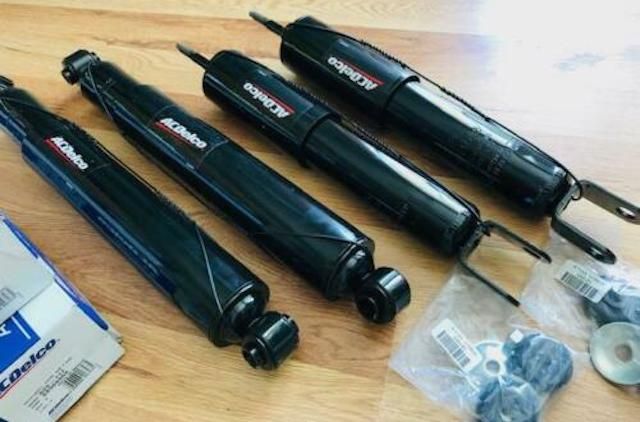
OEM replacement shocks can be quite expensive. It’s especially true when you buy them at a dealership. Here’s a secret: you’ll save a lot of money if you order your replacement shocks online. Even OEM shocks! We’re an authorized seller of genuine OEM parts for many different makes and models, including the Cadillac Escalade. We have an extensive inventory of OEM shocks and struts at wholesale pricing. Our prices are about 30% lower than the prices you’d find at dealerships.
Look up your Escalade model in our catalog of shocks and struts to find the right part number(s). If you need help finding the right shocks for your Escalade, we’ll be more than happy to help if you contact us.
It’s important to note that it’s best practice to replace both shocks on the same axle. For example, if your rear right shock is worn but your rear left shock is still OK, you still want to replace both. It’s to keep the suspension working the same on both sides.
Once you have your replacement shocks, it’s time to swap the shocks on your Escalade.
A General Overview Of The Cadillac Escalade Rear Shock Replacement Process
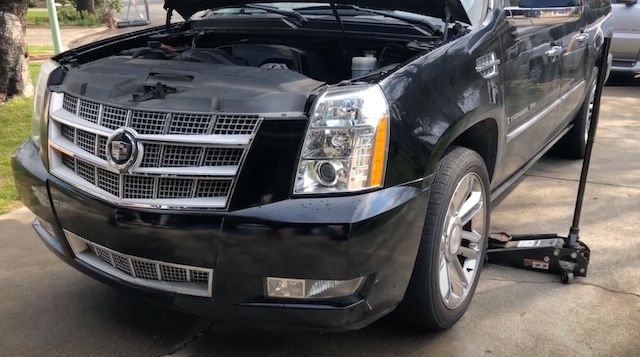
Image Credit: Greeks Garage
Take these steps to replace the shocks in your Escalade. This set of steps is based on replacing the rear shocks on a 2007-2014 Escalade.
Removing The Old Shock
- Lift your Escalade. You may use a full lift or a jack and jack stands. All you need to do is take the weight off the axle you’re going to be working on.
- Remove the center cap from one of the wheels.
- Remove the lug nuts behind the center cap.
- Remove the wheel.
- Remove some of the clips and bolts holding the fender lining in place. You want to peel back the fender lining just enough to expose the electrical and air connection points. These clips and bolts are located toward the rear the vehicle.
- Peel back the fender lining to expose the electrical and air connection points. Remove all the connection points. You can use a pocket screwdriver for this.
- With a floor jack and a flat support (like a rubber cushion), lightly push up on the rear differential. This puts light pressure on the rear differential to take pressure off the rear shock.
- Remove the upper mounting nut. A deep socket and a ratchet will make this step much easier.
- Remove the lower mounting nut. If the nut is hard to remove, hold the opposite side in place with a ratchet wrench.
- Now the shock is completely loose. Remove it.
Installing The New Shock
- Position the new shock in place.
- Fasten the upper part in place with the upper mounting nut - be sure to follow the torque specs for your Escalade.
- Lower the differential until it lines up with the lower mount on the shock.
- Fasten the lower part in place with the lower mounting nut. Again, be sure to follow the torque specs for your Escalade.
- Put all the connectors back in place. You can apply a little dielectric grease to keep moisture out of the connectors.
- Put the fender lining back in place and fasten it with the clips and bolts.
- Install the wheel and put the center cap back on.
Repeat the entire process on the other side of the axle.